A work in progress - both the kit and this page.
Additions will appear frequently.
International Space Station

The Most Ambitious Model Kit I Have Ever Attempted. The box image is misleading. This is not a simple task. 1st thing, this model is huge. Cubic space wise, this is the largest model I have ever done. It's not as complicated as some, but the size and amount of work needed is way up there. Plus, the fact that I am complicating it by docking a Space Shuttle, modifying parts, doing a whole lot of customized decals (think about all those solar cells you see). I'm adding experiment racks, docked spaceships (besides the Shuttle) more solar cells and changing the orientation of several modules and solar cells. I've done my research and a whole lot of the changes are real. This kit came out years before the Space Station was constructed. They used NASA plans when designing it, so a lot is right. The Station in real life is fully reconfigurable and NASA moves things around a lot. Some of things in the model no longer exist or have been redesigned. So, I decided to use my own preferences and I am making the Lotsawatts Space Station. Also, I cannot handle the stand, it's just stupid looking and the display space needed is just too big. So, I am going to hang it from the ceiling. Another reason for reconfiguring things, balance.
I am also trying to fully document my build. To make that documentation easier I'm going to update this page as I work on the model so the task will be easier for me. A few groups of images on this page will be described in a paragraph while others will have the descriptions in the slideshow. This will make it easier for me to explain what you are looking at in some of the images.
My first challenge was right out of the box. This kit is 30 years old, my wife got it from Ebay and gave it to me for Christmas. The box had been opened but the parts bags were still sealed. There are some good size parts that make up the central truss system of the station. Revell packed these parts in the middle of a pile of other parts in one of the bags. They are big and made of a lattice work of plastic, and they were crushed, shattered, and all bent up. You cannot get replacement parts on a kit that old. I spent four days painstakingly rebuilding all that lattice work. Had to patch it in places, but it works. Some of the patch work is document in the images but not all of it.
I mentioned that a Space Shuttle will be docked. I had not thought about that addition until I saw an example of one on the internet. I found that the Revell Space Shuttle is the same scale as the station, and it became a necessity to have one. The shuttle is getting a modification also. I changed the payloads in the cargo bay. More on that in the slideshows. The decal sheet for this kit is 2 1/2" x 3" with about forty little decals. I will be making several hundred custom decals of all different sizes and shapes. I know that sounds like way too much over-kill, not once you see what I have in mind. I may even make my decals available for anyone who wants to repeat my craziness. I am purposely challenging myself with this one. Practice for a couple of the more ambitious items in "Things to Come".
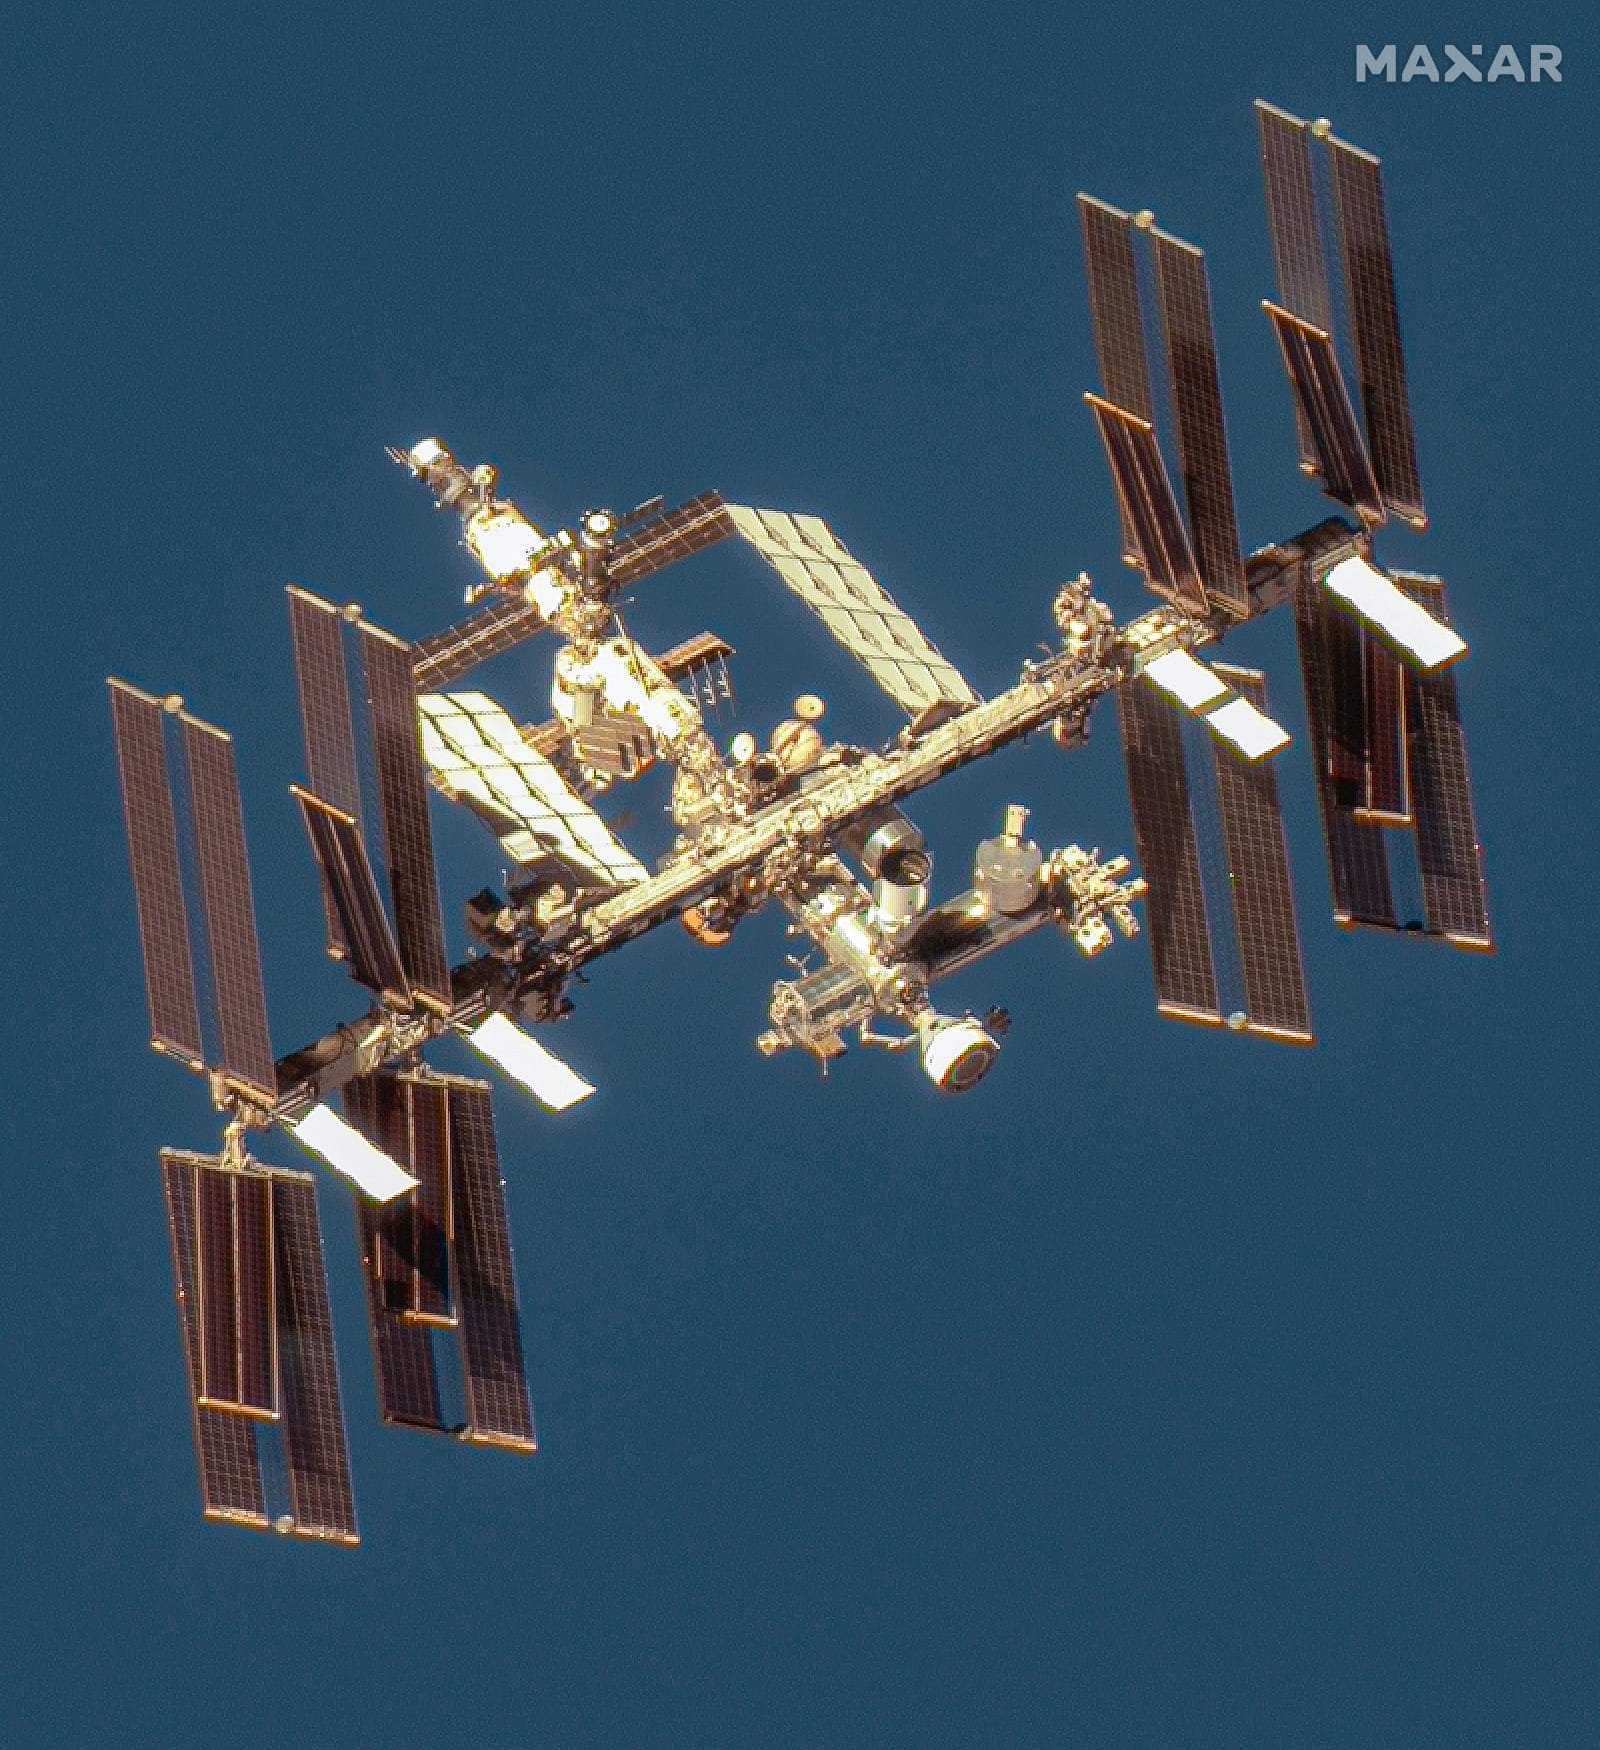
The Real Thing as of June 2024 taken from a ground base telescope.
Click on any image below for a larger image or slideshow.
On the Bench 06/04/24
In this 1st group of images, we have the parts laid out. This is after all the repairs to broken parts. Some sub-assemblies have been done.
https://mail.andre-norton.com/special-sections/house-of-models/1248-international-space-station#sigProId91ff1829f8
First Mockup 06/12/24
Checking the assembly process and getting an idea of what it really looks like. This is where I moved stuff around and played with it so I could be really intimidated.
https://mail.andre-norton.com/special-sections/house-of-models/1248-international-space-station#sigProId4e46bea7a0
Second Mockup 06/13/24
On social media I was asked for images of the assembly while not on the bench. They wanted cleaner images. I moved it to another location and took the pictures as it might appear hanging from the ceiling.
https://mail.andre-norton.com/special-sections/house-of-models/1248-international-space-station#sigProIdb1218f5758
Second "On the Bench" - There are discriptions on the images in the slideshow. 06/24/24
This is where the descriptions move to the individual images within the slideshow. (still working on them) Some of the experiment racks look silly right now because the parts used to make them can be seen. Once it's all painted and detailed it should look like what it represents. No, they are not copies of anything real.
https://mail.andre-norton.com/special-sections/house-of-models/1248-international-space-station#sigProIdf2216d98ff
The Central Truss 06/26/24
On the Station this system is devided into 4 close to equal segments. The segments at each end can rotate 360 deg. For display purposess I have rotated the right segment 90 deg. in relation to the far left segment. This is to demontrate the the fact that it can rotate. On the modeltThese segmets do not move. The two central segments were completely busted up inside the box. Fortanately all the little peices were still in the bag so I could rebuild them. It does show on the structure, but the 3 foot rule applies. In the modeling world if it looks OK from 3 feet away then its good to go. At most model shows and museums 3 feet is the closest you're going to get to it. Some of the white parts you see are reinforcements I installed to help hold all the repairs together. I took these pictures and printed them out so I could do a paint plan. I did a single picture for every module and assembly on this kit. The paint plan is too complicated to not write it down.
If you look closely you can see the aluminum frame that is inside this model.
https://mail.andre-norton.com/special-sections/house-of-models/1248-international-space-station#sigProIdbbd9f0fe17
Paint has Started 07/03/24
Central Truss - Valleho white primer then Valleho 71.119 White Grey
https://mail.andre-norton.com/special-sections/house-of-models/1248-international-space-station#sigProIdf561ec3402
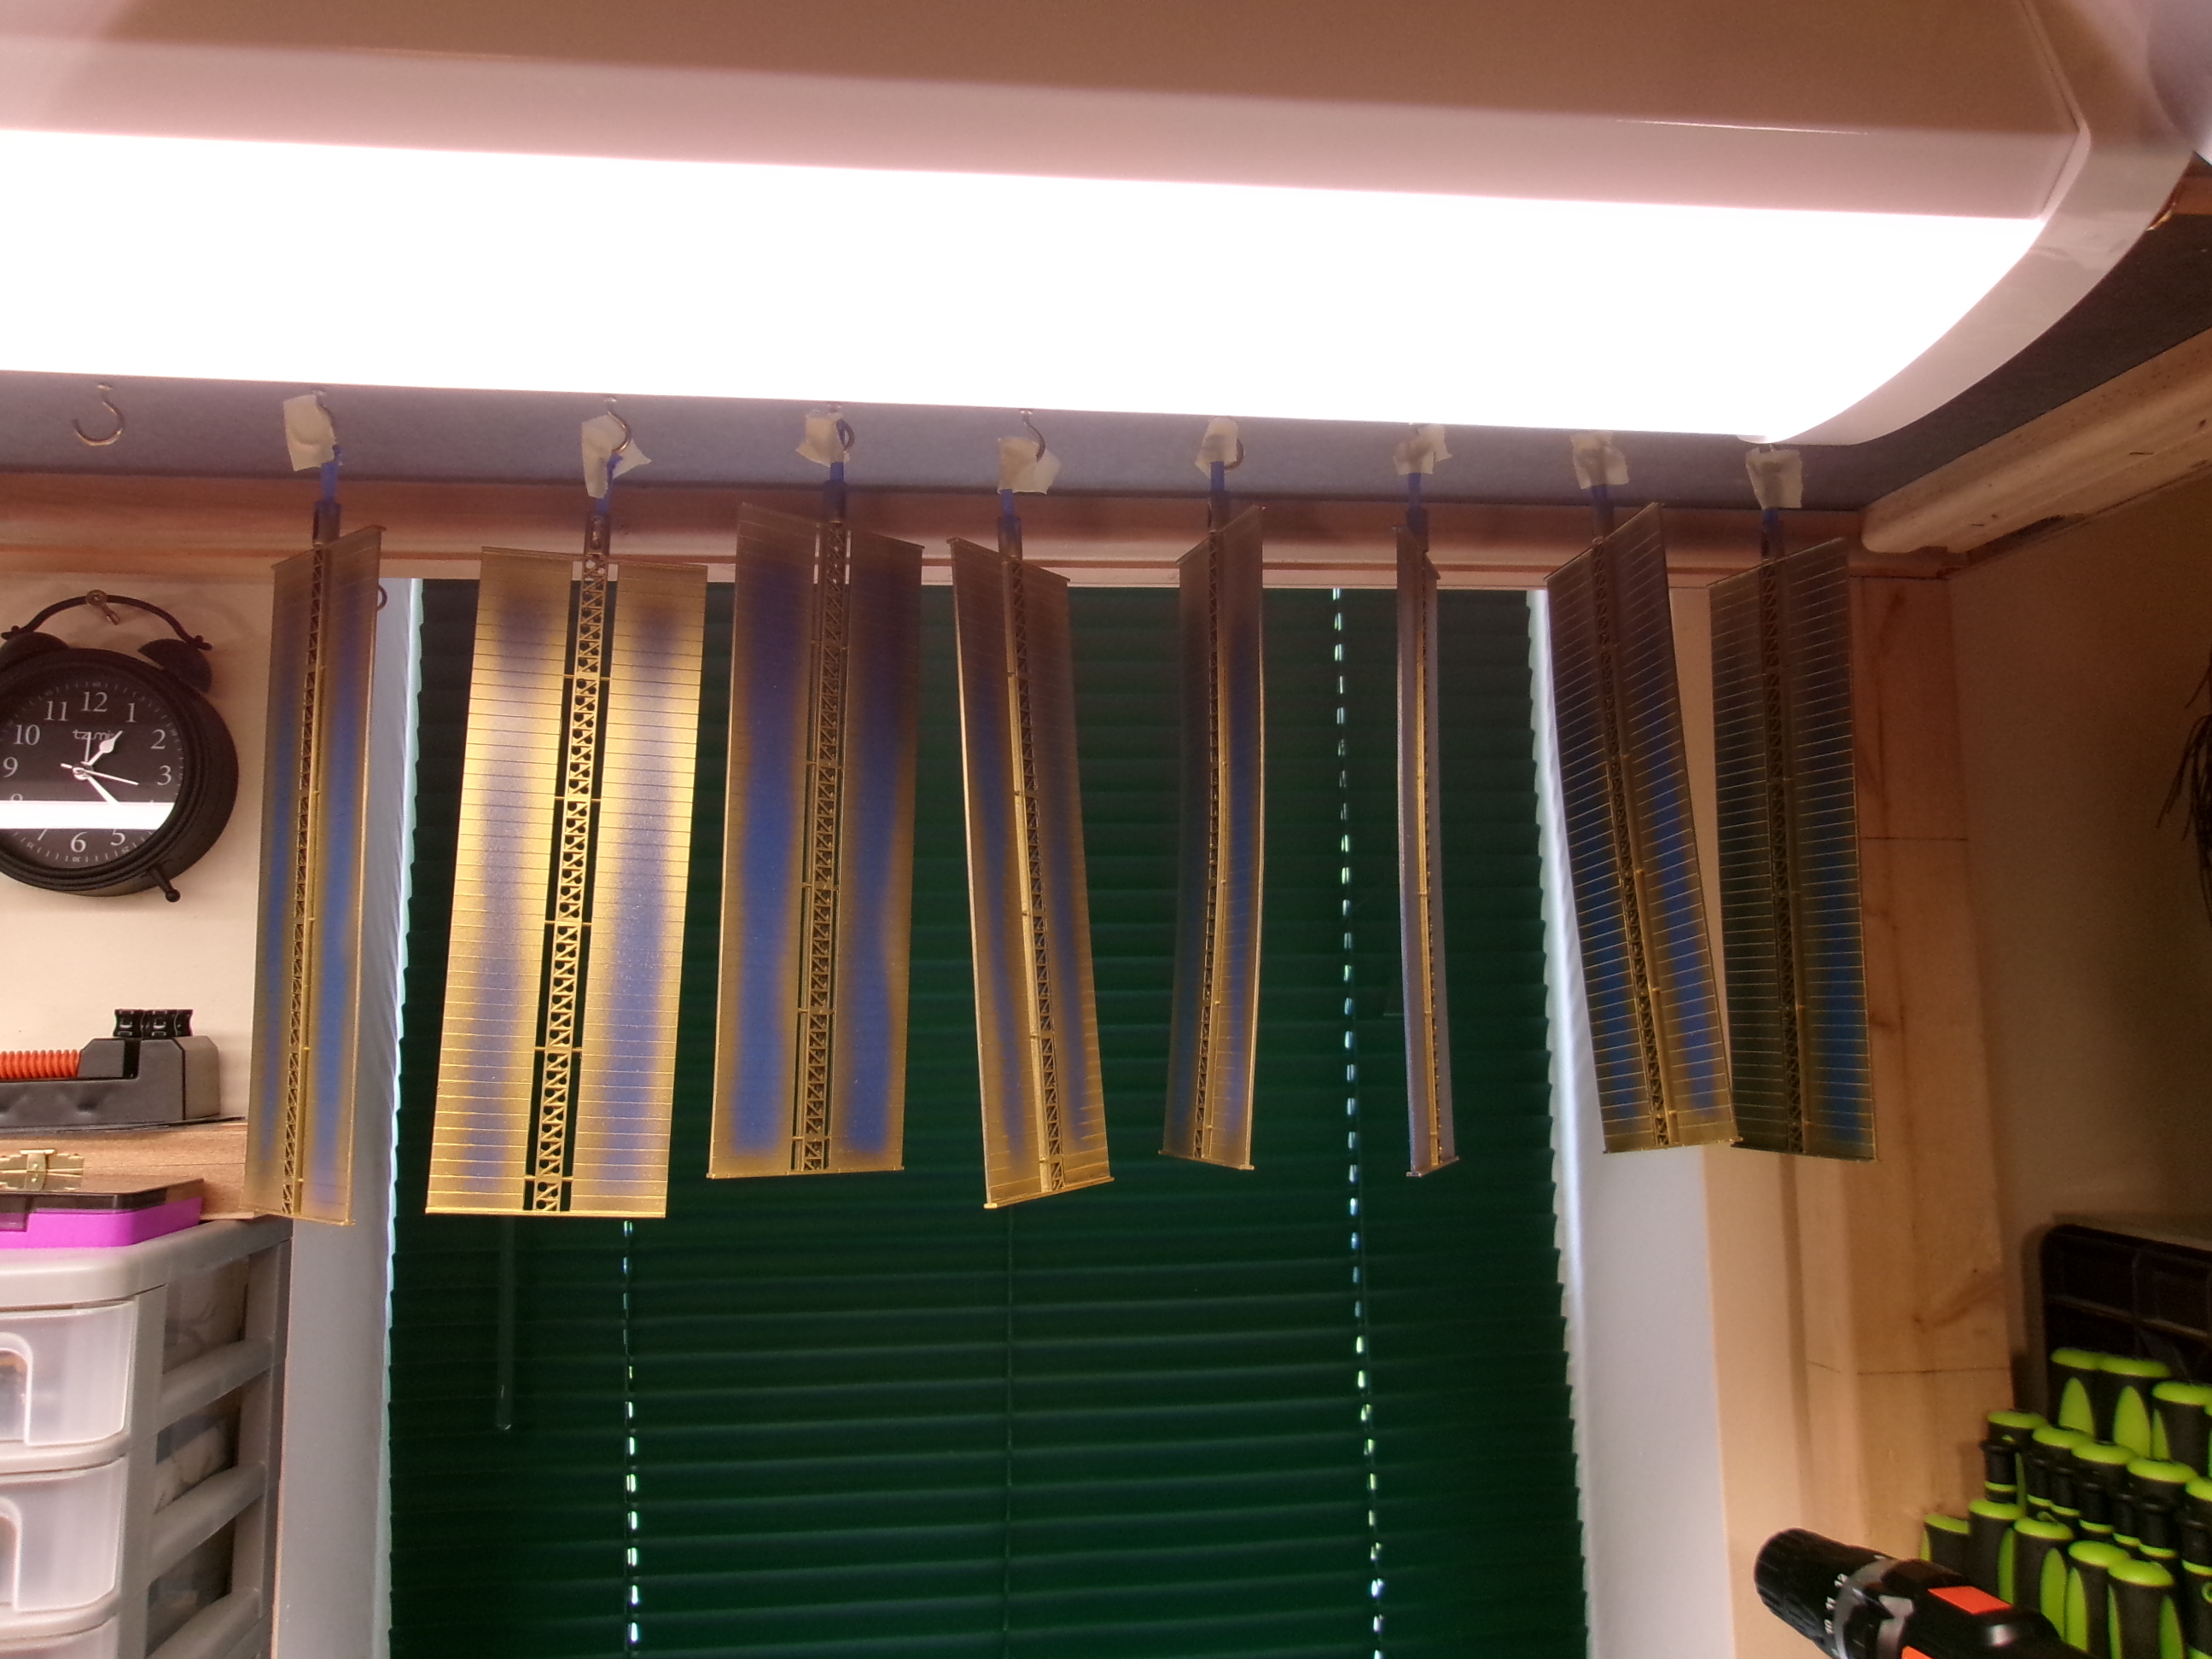
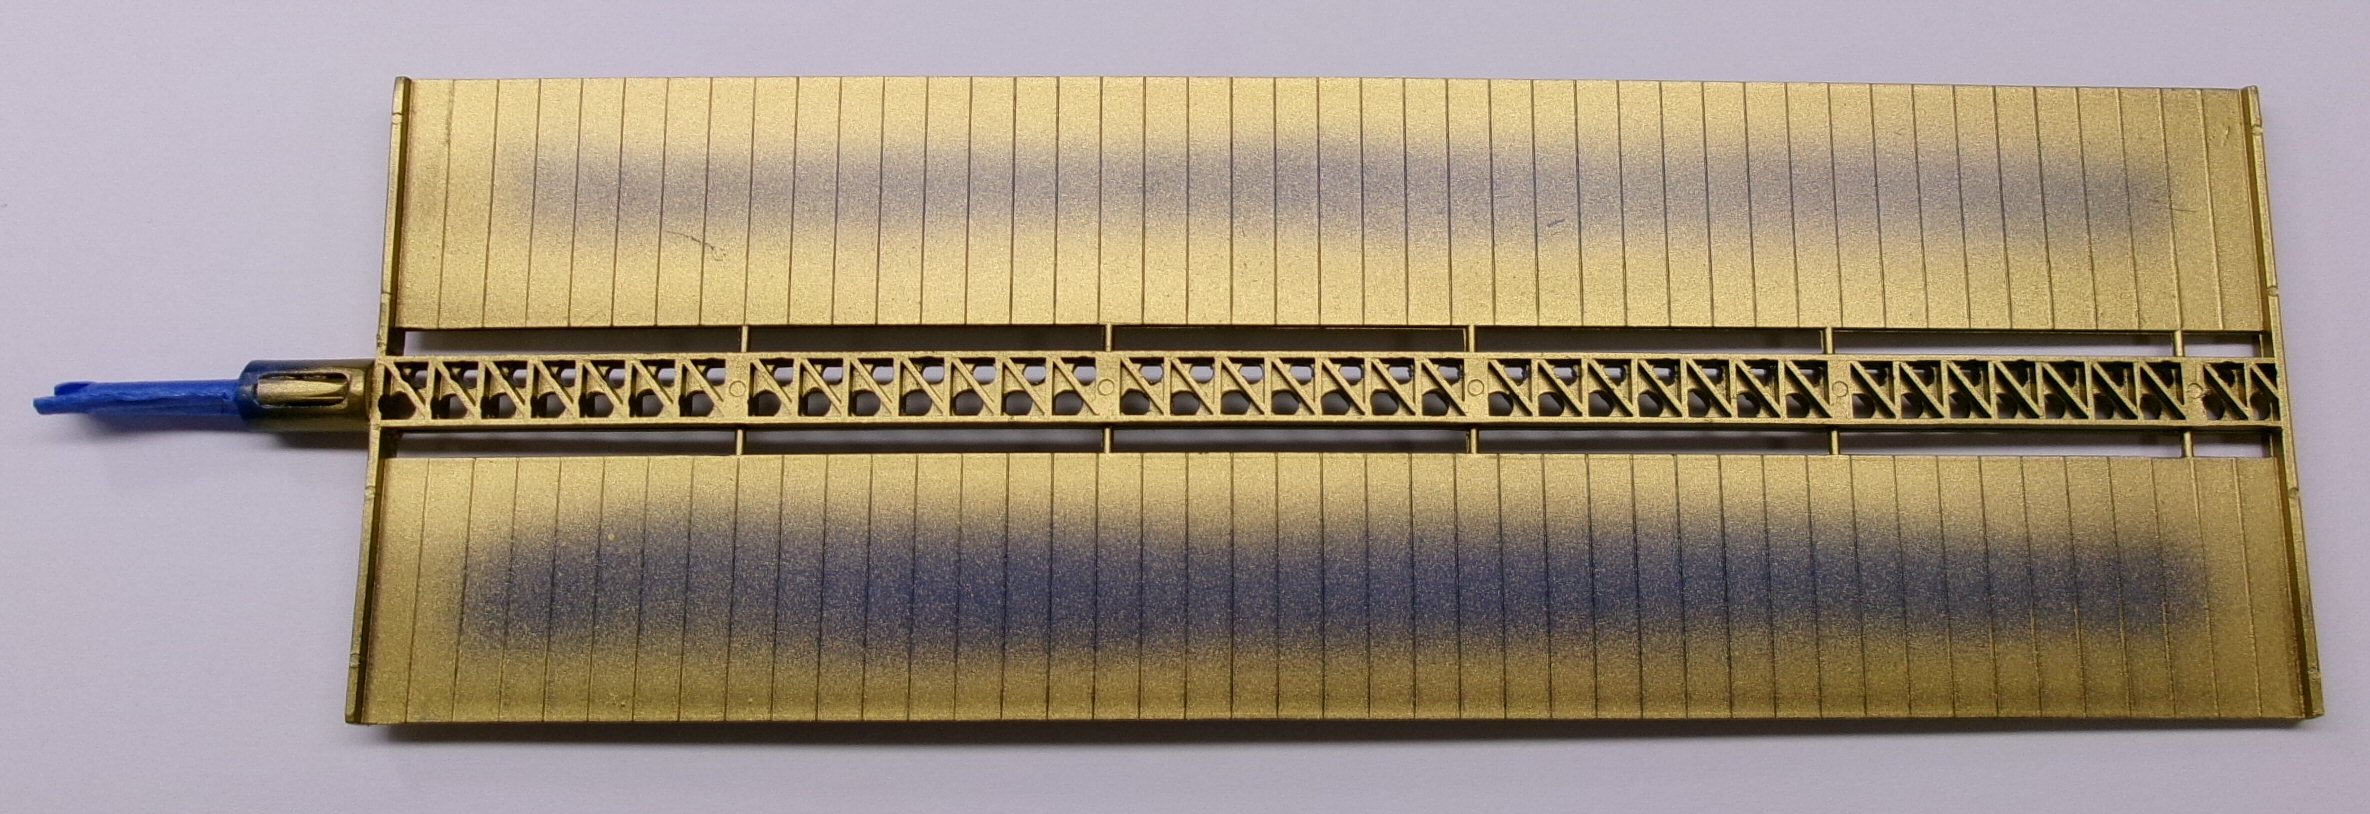
Large solar cell panels - Valleho 70.998 Bronze as a base then Valleho 70.996 Gold (light dusting). centers are blue because I'm using stickers for the solar cells. Single is front and back.
Life Got in the Way 08/11/24
Have not been able to work on it for the past month. This is soon to change.
